Making the background - step by step
I'm back!
And as I promised last week, I'll post the process of making the background for my painting. You can do it for any background, actually,.... scrapbooking, card making, art journaling, diary, anything....
Mine is 60x60 cm canvas.
Just adjust the size and the amount of materials you use on your project.
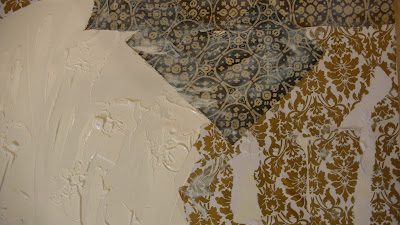
1. Use Deco Acrylic 3D (Lefranc&Bourgeois) to make some texture. You can use brush or old credit card. After that, pull out your stamp (here I used flower pattern)...and do some stamping! I suggest you use stamp with not too much little details because it will hardly show up later. And don't expect perfectness!
2. Still on the same canvas, stick some pattern paper using gel medium, and cover it right on once more with gel medium. Wait for 2-3 minutes until the gel zip into the paper, then use some paper tape to strip off some of the pattern. Don't limit it to one direction. Be free.
3. The third material I used here is batik fabric. Use the gel medium once more, and don't forget to cover it again. Don't worry, if you see the surface is milky like mine here, it will be clear and crisp in the morning.
4. In the morning? Yes! It's time for you to be patient. If you do it at night like me, just go to sleep now and leave it overnight. If you do it in the morning....just go do something else and check it out in the evening. Here is the result of the 3 materials match in one canvas :
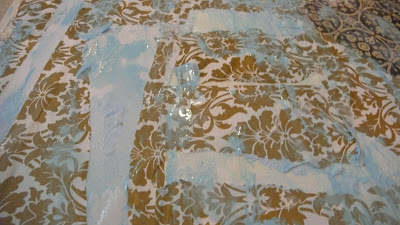
 5. Aaaah...you are back. Now, pick one color that you want to slightly pop out from your painting. Since I choose all one tone natural color for the paper, batik, and(later) the paint, I think this blue acrylic color will looks nice for accent.
 6. It's time to recycle again! Now, I used the subscription cards which I collect from numerous mags. It's waaaay too much of them now, so I think It's time to put them for a good use. Don't you think?
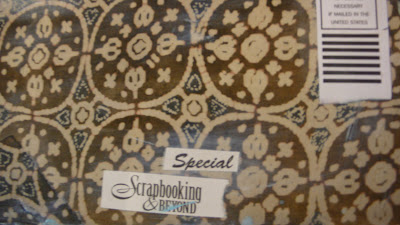
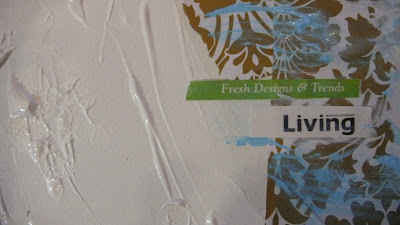 7. After the blue color dried, it's time to put some color onto the 3D acrylic paint. Here I used burnt umber and burnt sienna. Mix up some water into the canvas directly and move it. You'll get some messy but nice-in-the-end effect, rather than only using one consistency of the paint.
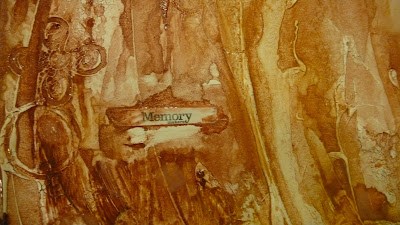 9. Don't forget to spread the colors onto all the 3 materials, so the finished result will look blended and even.
Check out my painting for this background here.
Feel free to post your project link on this post's comment if you want to try this method, so everybody could check it out too!
Feel free to post your project link on this post's comment if you want to try this method, so everybody could check it out too!
Happy creating to you!


